在本教程的第一部分中,我们在原生 Rust 中使用 keypairs 创建了存储账户,该账户需要私钥来进行初始化签名。现在,我们将探讨一种不同的方法,即使用 Program Derived Addresses (PDAs),它们虽然没有私钥,但仍可以通过一种特殊的签名机制作为存储账户使用。
使用 PDAs 创建存储账户
在深入代码之前,让我们先了解一下 PDA 账户创建与基于 keypair 的账户有何不同:
Keypair 账户:
- 拥有可以对交易进行签名的私钥
- keypair 必须为其自身的初始化进行签名
- 创建账户时需要
isSigner: true
PDA 账户:
- 通过 seeds 和 program ID 确定性地派生
- 没有私钥,因此它们无法直接对交易或指令进行签名
- 我们的程序使用
invoke_signed()代表 PDA 作为签名者(signer) - 需要使用派生该地址的 seeds 作为所有权证明
这个根本的区别意味着我们在创建 PDA 账户时将使用 invoke_signed() 而不是 invoke(),因为 System Program 需要签名来初始化任何账户。
构建 PDA 存储程序
将 src/lib.rs(来自第一部分)中的代码替换为以下版本。在下面的代码中,我们将:
- 导入用于创建 PDA 的额外依赖项(
invoke_signed、Rent、Sysvar) - 获取所需的账户(storage account、signer、system program、rent)
- 验证我们接收到了正确的 system program 以及 signer 账户是否有效
- 创建值为 100 的
CounterData并使用 Borsh 对其进行序列化 - 使用带有 seed 和 bump 的
invoke_signed来派生 PDA 地址并创建 PDA 存储账户 - 将序列化后的数据直接写入该账户
use borsh::{BorshDeserialize, BorshSerialize};
use solana_program::{
account_info::{next_account_info, AccountInfo},
entrypoint,
entrypoint::ProgramResult,
msg,
program::invoke_signed,
program_error::ProgramError,
pubkey::Pubkey,
system_instruction, system_program,
sysvar::{rent::Rent, Sysvar},
};
entrypoint!(process_instruction);
// This represents the data we'll store in our account
// We've added Borsh derive macros for serialization and deserialization
#[derive(BorshSerialize, BorshDeserialize, Debug)]
pub struct CounterData {
pub count: u64,
}
pub fn process_instruction(
program_id: &Pubkey,
accounts: &[AccountInfo],
_instruction_data: &[u8],
) -> ProgramResult {
msg!("Storage Write Program: Creating PDA storage account and writing data");
let accounts_iter = &mut accounts.iter();
// Get the accounts we need
// next_account_info() extracts the next AccountInfo from the iterator
let storage_account = next_account_info(accounts_iter)?;
let signer = next_account_info(accounts_iter)?;
let system_program = next_account_info(accounts_iter)?;
let rent = next_account_info(accounts_iter)?;
// Verify the system program
if system_program.key != &system_program::ID {
msg!("Invalid system program");
return Err(ProgramError::IncorrectProgramId);
}
// Verify the signer is a signer
if !signer.is_signer {
msg!("Signer must be a signer");
return Err(ProgramError::MissingRequiredSignature);
}
// Create our counter data
let counter_data = CounterData { count: 100 };
let serialized_data = counter_data.try_to_vec()?;
let space = serialized_data.len();
msg!("Creating PDA storage account with {} bytes", space);
msg!("Serialized data: {:?}", serialized_data);
// Get rent info
let rent_sysvar = Rent::from_account_info(rent)?;
let lamports = rent_sysvar.minimum_balance(space);
// Define the seed for our PDA
let seed = b"storage";
let (expected_pda, bump_seed) = Pubkey::find_program_address(&[seed], program_id);
// Verify the provided account is the expected PDA
if storage_account.key != &expected_pda {
msg!("Invalid PDA provided");
return Err(ProgramError::InvalidAccountData);
}
// Create the account using system program with PDA signing
let create_account_ix = system_instruction::create_account(
signer.key,
storage_account.key,
lamports,
space as u64,
program_id,
);
// Accounts needed for the create_account instruction
let accounts = &[
signer.clone(),
storage_account.clone(),
system_program.clone(),
];
// Seeds for PDA signing (seed + bump)
let signer_seeds = &[&seed[..], &[bump_seed]];
invoke_signed(&create_account_ix, accounts, &[&signer_seeds[..]])?;
// Write data to the account
let mut account_data = storage_account.try_borrow_mut_data()?;
account_data.copy_from_slice(&serialized_data);
msg!("Data written to PDA storage account");
Ok(())
}
现在我们已经看到了完整的实现,让我们来仔细看看使 PDA 账户创建成为可能的机制。
使用 invoke_signed() 创建 PDA
invoke_signed() 通过提供用于派生该地址的 seeds,允许我们的程序作为 PDA 的签名者(signer)。Solana 运行时(runtime)会验证这些 seeds 是否确实派生了该 PDA,如果验证通过,它就会认定该 PDA 已经对交易进行了签名。
如果没有这个机制,System Program 将拒绝 create_account 指令,因为 PDA 地址将没有有效的签名。
理解 signers_seeds 参数
invoke_signed() 可以处理在单次 CPI 调用中有多个 PDA 进行签名的情况。这就是为什么 signers_seeds 具有嵌套结构——它是一个 PDA seed 数组的数组。
以下是我们的单个 PDA 的 seeds 结构:
let seed = b"storage";
let bump_seed = bump_seed;
// Seeds that derive our PDA: ["storage" + bump]
let signer_seeds: &[&[&[u8]]] = &[
&[seed, &[bump_seed]] // ← seeds for our one PDA
];
invoke_signed(&create_account_ix, accounts, signer_seeds)?;
从外到内拆解这三层嵌套:
&[ // Outer: array of PDA seed sets (we have 1 PDA signing)
&[ // Middle: this PDA's seed components (we have 2)
seed, // Component 1: "storage"
&[bump_seed] // Component 2: bump byte
]
]
- 外层
&[...]:每个 PDA 签名者(signer)对应一组 seed(在我们的例子中只有 1 组) - 中层
&[...]:每个 PDA 有多个 seed 组件(我们使用了 2 个:字符串和 bump) - 内层
&[u8]:每个 seed 组件的各个字节
如果我们有两个 PDA 需要签名,它将如下所示:
let signer_seeds: &[&[&[u8]]] = &[
&[seed1, &[bump1]], // First PDA's seeds
&[seed2, &[bump2]], // Second PDA's seeds
];
解释 PDA 存储账户的创建过程
既然我们已经理解了 invoke_signed() 的工作原理,让我们来看看究竟是如何使用它来创建我们的 PDA 存储账户的。
在上面的代码中,您可以看到我们首先派生了 PDA 地址:

这基于我们的 program ID 和 “storage” seed 派生出一个确定性的地址。bump_seed 是一个单字节,用于确保该地址有效。
接下来,我们验证客户端传递的账户是否与我们预期的 PDA 相匹配:
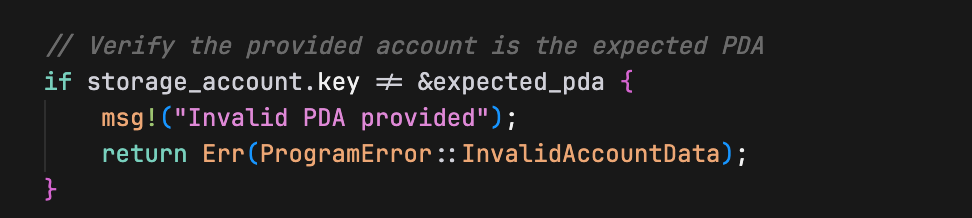
这确保了客户端传递的是我们派生出来的正确的 PDA 地址。
最后,我们创建存储账户,并使用 invoke_signed 将序列化后的结构体写入其中:
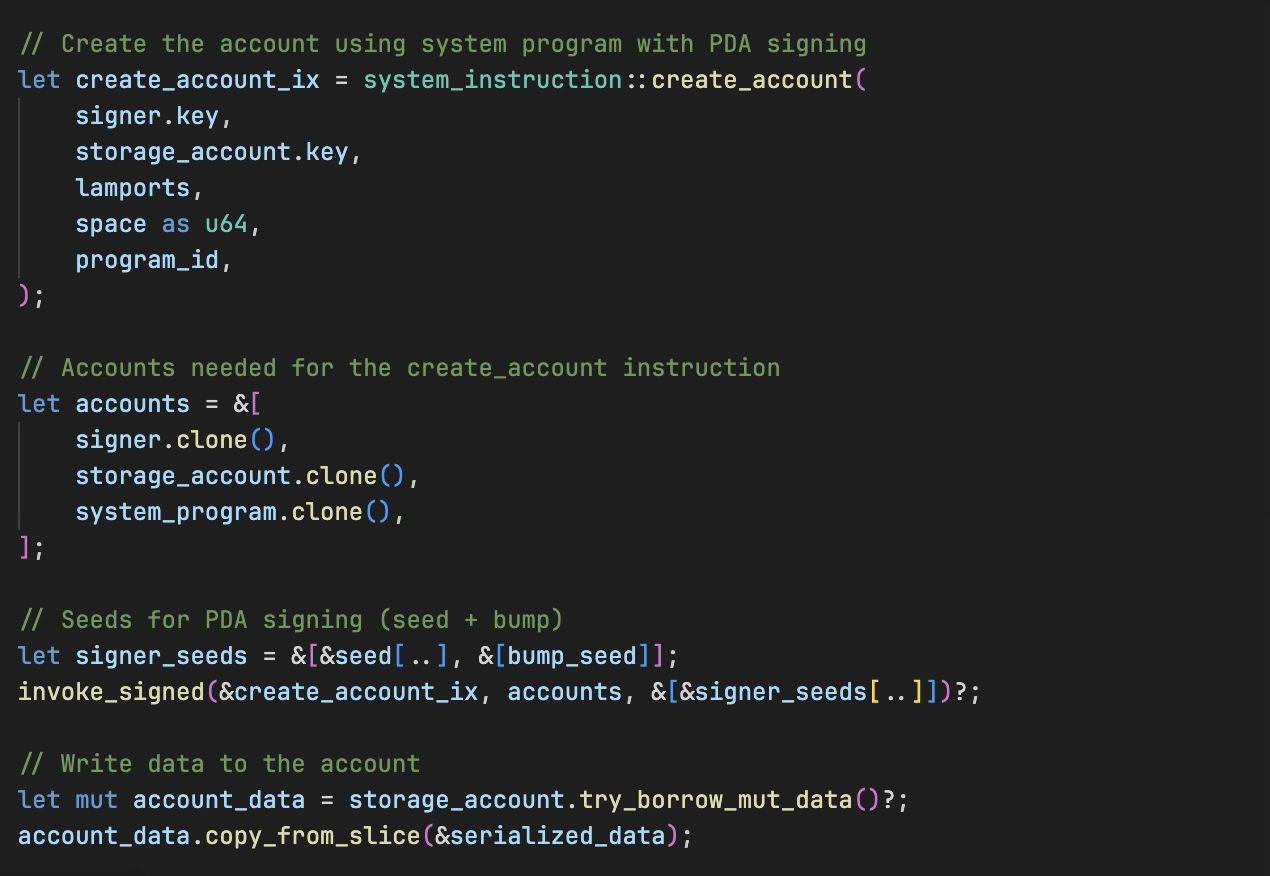
System Program 在这个确定性的 PDA 地址创建该账户,而我们的程序则成为其所有者(owner)。
测试 PDA 存储创建
现在让我们测试一下 PDA 方法。替换您的 client/client.ts 来测试 PDA 存储。在这个客户端中,我们将:
- 创建一个 signer keypair,并使用
PublicKey.findProgramAddressSync和 “storage” seed 及 bump seed 派生出一个 PDA 存储地址 - 向 signer 账户空投 SOL
- 将所需的账户传递给我们的程序以创建 PDA 存储(PDA account、signer account、system program、rent)
- 执行交易以创建 PDA 账户并写入数据
- 重新读取账户数据并验证其是否被正确写入(确保 count 值恰好为 100)
import {
Connection,
Keypair,
LAMPORTS_PER_SOL,
PublicKey,
SystemProgram,
SYSVAR_RENT_PUBKEY,
Transaction,
TransactionInstruction,
sendAndConfirmTransaction,
} from '@solana/web3.js';
const PROGRAM_ID = new PublicKey('YOUR_PROGRAM_ID_HERE'); // Replace with your actual program ID
const connection = new Connection('<http://localhost:8899>', 'confirmed');
async function testPDAStorage() {
console.log('Testing PDA Storage Creation\\n');
// Create accounts
const signer = Keypair.generate();
// Create PDA for storage
const [pdaStorage, _bump] = PublicKey.findProgramAddressSync(
[Buffer.from("storage")],
PROGRAM_ID
);
// Fund the signer account
console.log('Funding signer account...');
await connection.requestAirdrop(signer.publicKey, LAMPORTS_PER_SOL);
await new Promise(resolve => setTimeout(resolve, 2000));
console.log(`Signer: ${signer.publicKey.toString()}`);
console.log(`PDA Storage: ${pdaStorage.toString()}\\n`);
// Test PDA storage account
console.log('=== Testing PDA Storage ===');
const pdaIx = new TransactionInstruction({
keys: [
{ pubkey: pdaStorage, isSigner: false, isWritable: true },
{ pubkey: signer.publicKey, isSigner: true, isWritable: true },
{ pubkey: SystemProgram.programId, isSigner: false, isWritable: false },
{ pubkey: SYSVAR_RENT_PUBKEY, isSigner: false, isWritable: false },
],
programId: PROGRAM_ID,
data: Buffer.alloc(0),
});
const pdaTx = new Transaction().add(pdaIx);
const pdaSig = await sendAndConfirmTransaction(connection, pdaTx, [signer]);
console.log(`PDA transaction: ${pdaSig}\\n`);
// Verify PDA data was written correctly
console.log('=== Verifying PDA Data ===');
const pdaAccountInfo = await connection.getAccountInfo(pdaStorage);
if (pdaAccountInfo && pdaAccountInfo.data.length > 0) {
console.log('PDA account data length:', pdaAccountInfo.data.length, 'bytes');
console.log('Raw PDA data:', Array.from(pdaAccountInfo.data));
// Deserialize the PDA data back to verify
const pdaData = new Uint8Array(pdaAccountInfo.data);
// DataView lets us read binary data as specific types (u64 in this case)
// getBigUint64(0, true) reads 8 bytes starting at offset 0, little-endian
const pdaCount = new DataView(pdaData.buffer).getBigUint64(0, true);
console.log('Deserialized PDA count value:', pdaCount.toString());
if (pdaCount === 100n) {
console.log('Success! PDA data was written correctly.');
} else {
console.log('Error: Expected PDA count 100, got', pdaCount.toString());
}
} else {
console.log('Error: Could not read PDA account data');
}
}
testPDAStorage().catch(console.error);
再次确认 PROGRAM_ID 变量已设置为您的 program ID。
同时,确保您的本地 Solana 验证者节点(validator)正在运行,且程序已部署到该节点上。
现在运行测试:
cd client
npm run test
您将看到正在创建的 PDA 存储账户,其计数器值为 100。
这演示了如何在纯 Rust 的 Solana 程序中使用 PDA 创建存储账户并写入数据。
本文是 Solana 开发 教程系列的一部分。